How to create a Virtual Machine
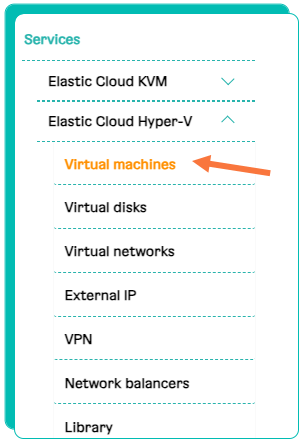
1. Click "Virtual machines" in the "Services" control panel in the "Elastic Cloud KVM" section.
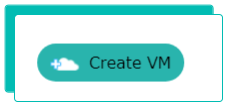
2. Click "Create VM".
5. Create and attach a new virtual network or connect your VM to an already existing virtual network.
6. Click "Order".
7. In the appeared window "Create a virtual machine" fill in the essential information.
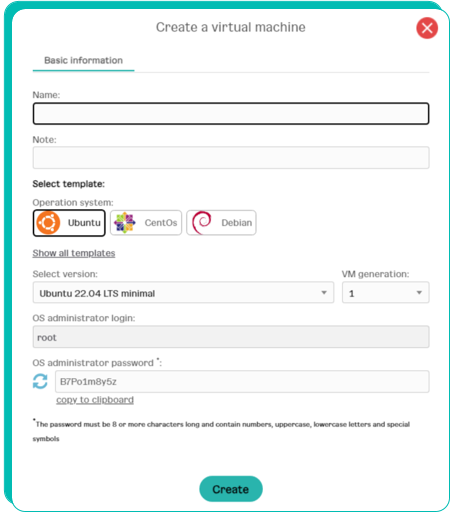
8. Click "Create".
The process of creating a VM can take a few minutes depending on the set VM parameters.
All created VMs will appear in the control panel "Services" of the "Elastic Cloud" section in the subsection "Compute".