Elastic Cloud: Creating a virtual network with a public IP
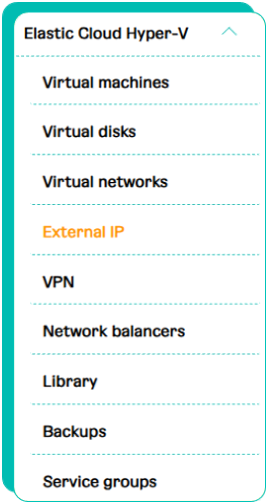
1. While adding a virtual network choose «Create new».

2. After this, fill in the available options and switch on the "Public IP" setting.
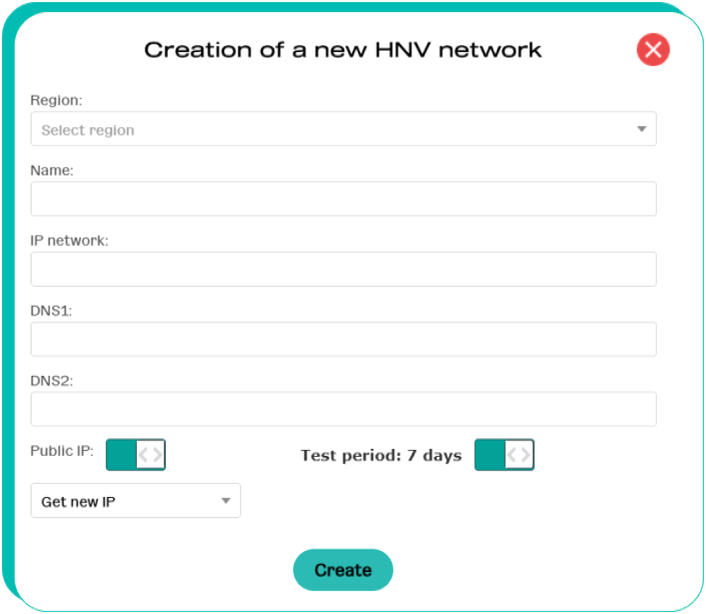
The IP address will be given automatically.
In addition to getting a new IP address you can choose one that already exists and was added to the «External IP addresses» menu earlier.